


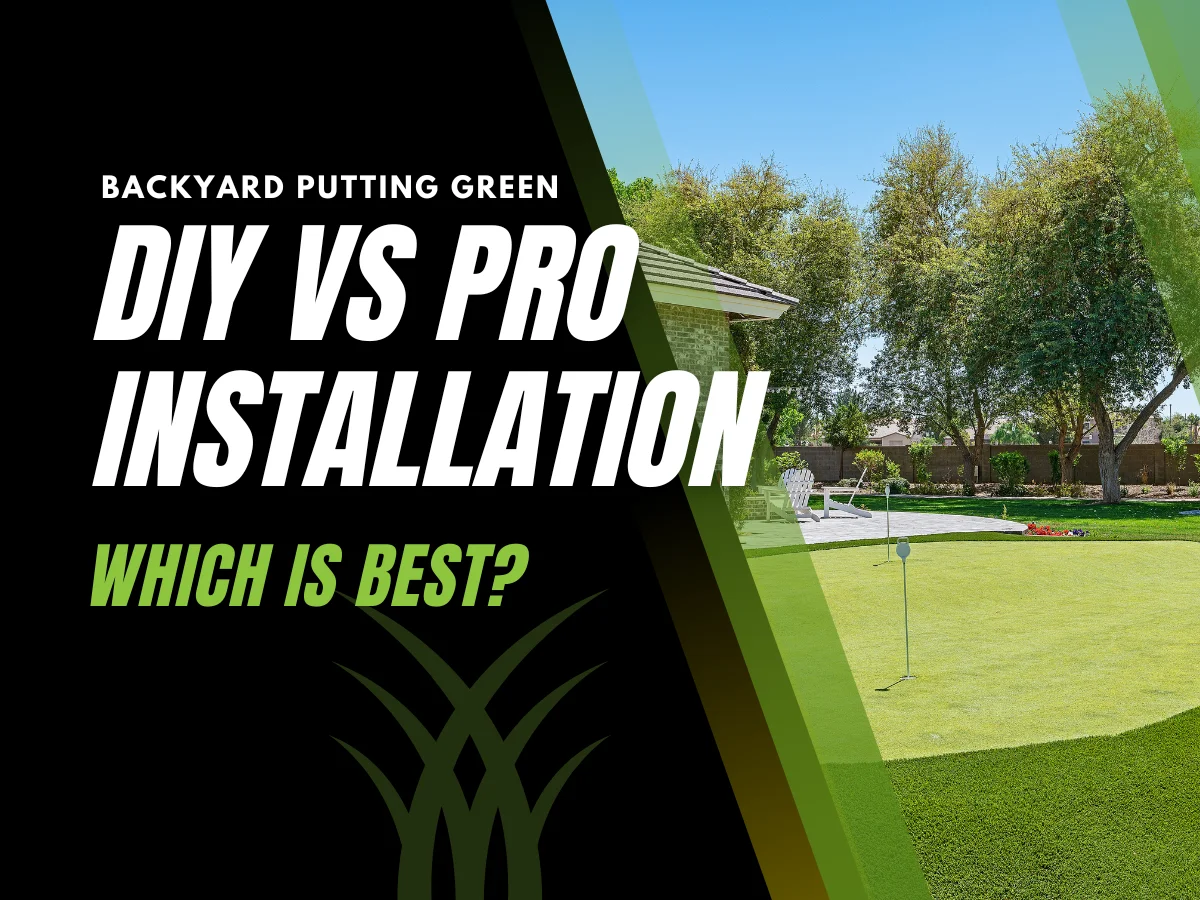
So, you’ve decided to create a golfer’s paradise in your backyard. A personal putting green where you can practice any time. The big question is: DIY or professional installation?
Taking on a DIY backyard putting green project sounds enticing if you’re handy and want to save money (especially given the cost of a backyard putting green can be significant). There’s pride and cost savings in building it yourself. On the other hand, hiring experts for a professional putting green installation brings experience, efficiency, and a guaranteed great result.
DIY gives you control and can trim costs, but it demands time, hard work, and some construction know-how. Professionals (like the team at AGL Grass) have installed many greens and know how to get everything perfect, even the dreaded base prep done right. According to the USGA’s Green Section Record, new products have made DIY putting greens easier and more affordable for homeowners. But easier doesn’t always mean easy; proper drainage, smooth ball roll, and a professional finish still take skill and effort.
Still, doing it yourself means you’re responsible for any hiccups along the way. Before you commit, it’s worth considering the DIY vs professional putting green approach to see which option best fits your skill level, budget, and expectations. Let’s break down what DIY involves versus hiring a pro, compare the outcomes, and help you choose the best path to build your backyard green.
What DIY Installation Involves
If you love hands-on projects, building a DIY backyard putting green yourself can be rewarding. But it’s more complex than unrolling some turf on the lawn. Here’s what a DIY installation entails:
Materials & Tools Needed
- Artificial turf: Putting green surface turf (plus optional fringe turf like our Kent Fringe Grass for the surrounding area).
- Base materials: Crushed rock (gravel) for a base layer and fine sand or stone dust for a top leveling layer.
- Cup and flag kit: Golf cups to install in the ground and matching flags for the holes.
- Tools: Shovel or sod cutter for digging, a plate compactor (to compress the base layers), a rake for leveling, a utility knife for cutting the turf, and stakes or nails to secure the turf edges.
- Infill (optional): Fine sand infill to brush into the turf if required (not needed for infill-free turf).
Step-by-Step DIY Summary
Installing a putting green yourself involves several key steps:
- Plan & Measure: Mark out your green’s shape and dimensions on the ground. Decide where the holes will go and gather all needed materials.
- Excavation: Remove existing grass/soil to the needed depth (usually 4–6 inches). Clear a level area for the green.
- Base Installation: Lay a few inches of crushed stone as a base and compact it firmly. Add a layer of sand or stone dust on top, then compact and level it smooth.
- Place Cups: Dig out spots in the base for your cup sleeves and set the cups in place so their top will be flush with the turf.
- Lay the Turf: Roll out the artificial putting turf over the prepared base. Cut it to shape using a sharp utility knife (cut from the backside for accuracy).
- Join Seams: If using multiple pieces of turf, join them with turf seam tape or adhesive. Make sure seams are aligned and flat so they’re virtually invisible.
- Secure the Turf: Nail down or stake the turf around the perimeter to keep it tight and immobile.
- Add Infill & Brush: If your turf requires infill, spread silica sand across the surface and use a broom to brush it in evenly. If it’s infill-free, just brush the fibers up to ensure a smooth surface.
- Finishing Touches: Cut out openings for the cups, insert the flagsticks, and give the whole green a final broom. Now it’s ready for putts!
Expect a DIY backyard putting green project like this to take at least a couple of full days (and potentially a few weekends) of work, especially if you’re doing it solo.
Pros of DIY
- Cost Savings: Avoid paying for labor, potentially saving a significant amount of money (aside from material and tool rental costs).
- Personal Satisfaction: You get the pride of building it yourself – a rewarding experience for those who love hands-on projects.
- Control: You’re in charge of every detail, from the green’s shape to hole placement, allowing you to customize it exactly to your vision.
Cons of DIY
- Time & Effort: Installing a putting green is hard work and can take many hours or even several weekends of labor.
- Learning Curve: Mistakes in base prep or seaming the turf can lead to bumps or issues with ball roll, and fixing errors can be difficult. Being aware of the common mistakes when installing a backyard putting green can help you avoid these pitfalls.
- No Warranty: Any problems down the line (like settling or turf issues) are on you to repair, since there’s no installer guarantee when you DIY.
Professional Installation Explained
The DIY vs professional putting green debate often comes down to quality and convenience. Opting for professionals means entrusting your project to experts who install putting greens for a living.
What Professionals Do
Hiring professionals means an experienced team takes care of the entire process for you. They’ll start with planning and site prep: removing existing sod and soil and building a proper crushed stone base with the right grading and compaction for drainage.
Then they cut and fit the artificial turf to your design, secure the seams so they’re virtually invisible, and install the cups precisely. If the turf needs infill, they’ll add and brush it to get ideal putting speed.
In a day or two, a pro crew handles what might take you many days. Then, you’re left with a ready-to-play green without breaking a sweat.
Pros of Professional Install
- Top Quality Results: Professionals deliver a smooth, true-rolling green with virtually invisible seams (it will look and play like a real golf green).
- Faster Completion: What could take you many days can be done by a pro crew in a day or two, so you enjoy your green much sooner.
- Warranty & Peace of Mind: Most installers back their work with a warranty. If any issue comes up later, they’ll fix it, so you’re not on your own.
- Expert Guidance: Pros can level-up your design (suggesting ideal placement, adding fringe, contours, etc.) and make sure the green fits beautifully into your yard.
Cons of Professional Install
- Higher Cost: Professional installation comes at a significant price for labor and expertise. It’s a bigger upfront investment than DIY (though it might pay off in quality and time saved).
- Less Hands-On Control: You’ll rely on someone else’s schedule and methods. While good installers work with your vision, you won’t be as directly involved in every detail as you would in a DIY project.
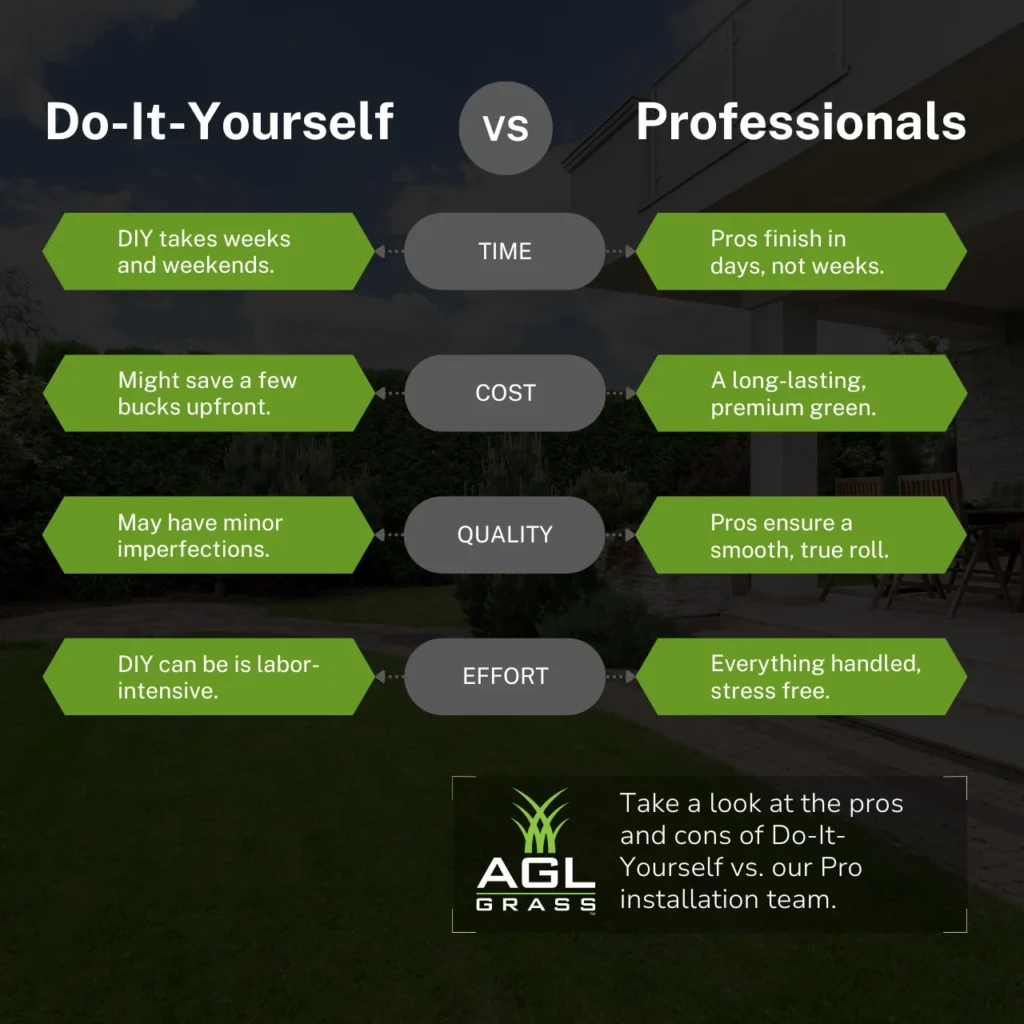
Comparing the Outcomes
How does the end result differ between a diligent DIY effort and a professional job?
Quality and Performance
A careful DIY job can produce a very good green, but seasoned installers have the skills to deliver flawless results. Professionals know tricks to avoid wrinkles or bumps and ensure the surface rolls true like a real course. A DIY backyard putting green might have a minor imperfection or two unless you’re extremely meticulous. If you’re aiming for a truly pro-level finish, a DIY backyard putting green may not match the quality of professional installation.
Longevity
Longevity comes down to the quality of construction. A putting green with a well-compacted base and good materials can last 15 years or more. If installing a putting green yourself, even minor mistakes (say, the base isn’t compacted enough), could lead to settling or issues after a few seasons and need to redo some work. With a professional installation, you’re generally more assured that your green will stay solid and smooth for the long haul.
Stress and Enjoyment
Consider the experience itself. For some, the challenge of a DIY project is part of the fun and they enjoy the process and feel accomplished at the end. For others, the stress and effort of such a big project would detract from the enjoyment. If you’d rather skip straight to enjoying the finished green, going with pros saves you the hassle. There’s no right or wrong, it just depends on whether you would enjoy the DIY journey or prefer a turnkey result.
Making Your Decision
When deciding between DIY and professional installation for your backyard putting green, consider these factors:
- Budget: If keeping costs low is a must, DIY will save you the labor expense. If you have more budget flexibility, professional installation buys convenience and expertise.
- Skills & Experience: If you’re handy or have done similar projects, you might handle a DIY. If not, a professional installation will likely yield a better result with less frustration.
- Desired Quality: For a casual fun green, a DIY job can suffice. If you want a pristine, club-quality green to practice seriously, a pro installation ensures the highest quality.
- Time & Effort: Consider your schedule and patience. DIY requires significant time and hard work on your part. Hiring pros means the job gets done quickly and you skip the heavy labor.
DIY vs Professional Putting Greens
Building a backyard putting green is an exciting project, whether you do it yourself or hire the pros. The DIY vs professional putting green decision ultimately comes down to your priorities and situation.
A DIY backyard putting green can save money and be a satisfying achievement if you’re up for the work. Professional installation offers convenience and polished results if you want a guaranteed great outcome without the effort.
By understanding what goes into each approach, you can make an informed call. And remember, you’re not alone. The team at AGL Grass is happy to offer guidance or step in to help with your green. Whatever you decide, you’ll soon have your own patch of golf heaven at home.