


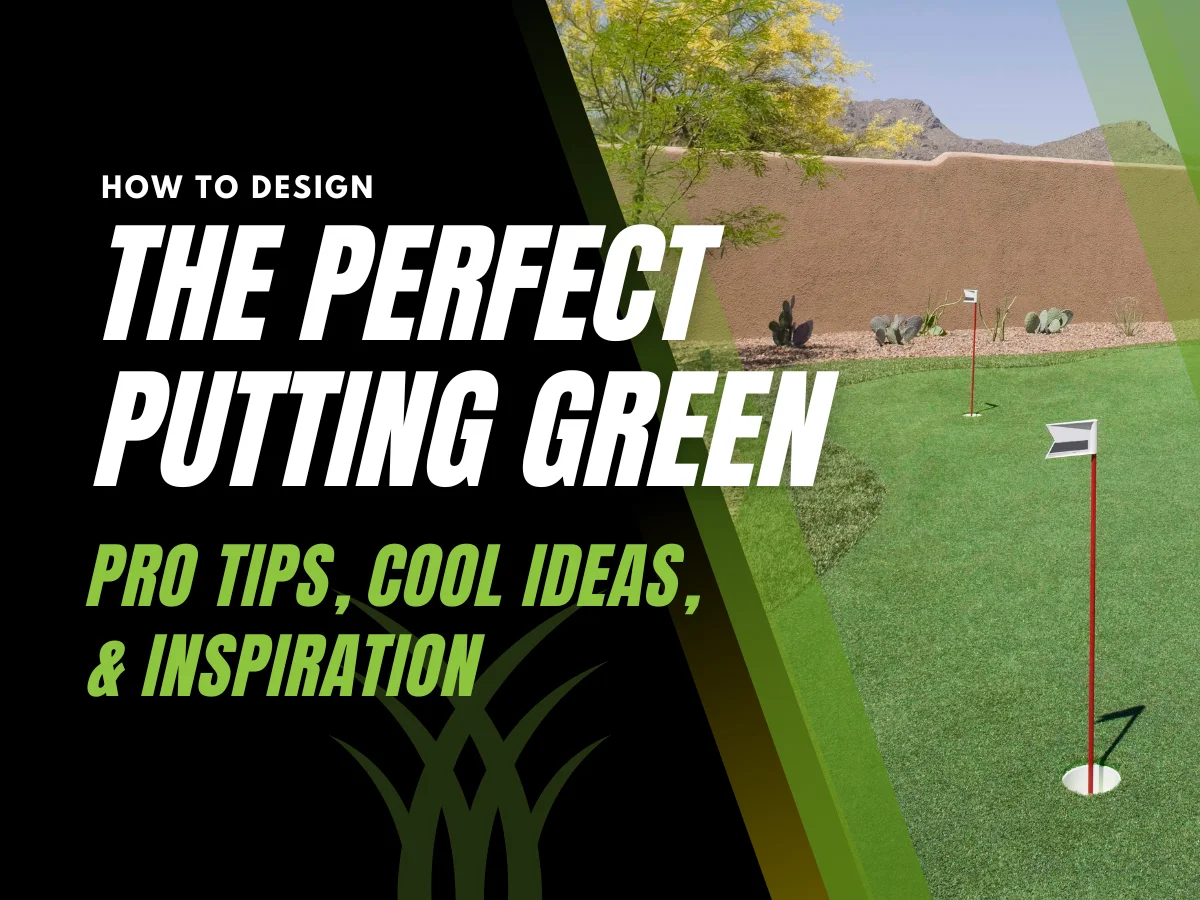
Close your eyes and picture your ideal backyard putting green. It’s not only a practice spot, it’s a personal golf dream seamlessly integrated into your yard.
Designing a putting green is about crafting a space that fits your goals and your backyard. Are you aiming for a serious practice area to shave strokes off your game, or a fun gathering spot for family putt-offs? Whatever your vision, thoughtful backyard putting green design is key to making it work.
In this guide, we’ll walk through putting green ideas for your backyard. These tips will help you plan a beautiful design so that you have the most functional home putting green layout for you. Whether you have a sprawling lawn or a cozy corner, let’s take a shot and start turning your ideas into a layout you can actually build.
Choosing the Ideal Location
Where you put your home putting green can make a big difference in how it performs and looks. Here are some golf green landscaping tips on selecting the best spot in your yard:
Yard Terrain and Slope
A relatively flat area of the yard is easiest to build on. A gentle slope is fine (it can even add some challenge to your putts), but avoid very steep spots since they’d require a lot of earthwork to level out. In general, choose an area that’s fairly level and open. It will make installation and play much simpler.
Sun, Shade, and Surroundings
Artificial greens do well in both sun and shade, so consider that in your backyard putting green design. A green directly under trees will collect more leaves and debris (more cleaning for you). Also, avoid placing the green in a low-lying spot that tends to puddle after rain, because you want water to drain away easily. Give yourself a bit of buffer room around the green too (so you can comfortably stand and swing a putter without hitting a fence or wall).
Integrating with Existing Landscape
Think about how your green will blend with the rest of your yard so it looks intentional. If you have a curved patio or walkway, you might nestle the green along that curve so it feels like a natural extension of the hardscape. In an open lawn area, a free-form green can become a focal point that catches the eye (for example, as seen from your deck or living room window). The idea is to position the green where it complements existing features rather than fighting them.
Determining the Shape of Your Backyard Putting Green Design
How big should your putting green be, and what shape will work best? The answers depend on your space and how you plan to use it.
Size Matters
Even a small putting green can be a blast if it’s designed well. Choose a size that fits your yard without overwhelming it. You’ll probably want to leave some regular lawn or landscaping around the green. Stake out your intended dimensions on the ground to visualize it. Remember, bigger isn’t always better; even a compact green can provide plenty of practice for your short game.
Popular Shapes
When it comes to shape of your backyard putting green design, you have options:

- Kidney-shaped greens are popular for a natural look and allow multiple hole positions.
- Circular or Oval greens give a clean, simple look that’s great if you mostly want straight putts.
- Free-form wavy shapes can mimic real golf greens and blend nicely with landscaping.
Sketch a few shapes on paper and imagine where the holes would go in each. Choose what fits your style and yard best.
Number of Holes and Layout
Even a small green can fit 2–3 holes for variety. Try to space cup holes apart at different angles so you can practice a mix of putts.
For example, placing holes at opposite ends of a kidney-shaped green gives you one longer putt and one shorter putt option. Avoid putting a cup right at the edge of the green (to prevent balls from rolling off into the yard). You can always start with one or two holes and add another later by cutting into the turf – so don’t feel you must install every cup at the start.
Incorporating Fringe and Surrounds
What goes around your green is almost as important as the green itself.
Fringe Grass for Chipping
In real golf greens, a fringe (also called the collar) of slightly taller grass surrounds the putting surface. You can emulate this by adding a band of fringe turf around your synthetic green.
Fringe grass not only gives a nice finished look, but it’s also great for practice and it provides an area to chip from. If you like to practice chipping, having a 2–3 foot wide fringe apron means you can work on those bump-and-run shots onto the green.
AGL Grass offers a specific fringe turf (our Kent Fringe Grass) that pairs perfectly with our putting green surface. It’s a bit longer and softer, designed to simulate the first cut of rough around a green.
Including fringe in your design makes your backyard setup feel more like a real green complex and adds to the playability. Plus, it creates a visual transition from the green to the rest of the yard, which is pleasing to the eye and your jealous neighbours!
Landscaping Around Your Backyard Putting Green Design
Consider what will border your green:
- For a natural look, use garden elements like rocks, mulch, or flower beds around parts of the green to help it blend into the yard.
- For a neat, defined look, install a border like stone pavers, brick edging, or a wood frame to clearly separate the green from other areas.
If your yard is mostly grass, you could also let the fringe simply transition into your natural lawn for a seamless effect. The main goal is a border that’s attractive and safe (no tripping hazards) while complementing your yard’s style.
Additional Features
- Sand Bunker: A sand trap next to the green for bunker shot practice (adds realism, but also maintenance).
- Tee Box: A small tee or mat a few yards away to practice chips or pitch shots onto the green.
- Lighting: Landscape lights around the green so you can enjoy putting in the evenings.
- Seating: A bench or small patio area beside the green, giving you and guests a place to relax between putts.
Backyard Putting Green Design Inspiration
- Patio Entertainer’s Green: A medium-sized green right next to a backyard patio or deck. It creates a fun zone during BBQs and guests can putt a few balls while others mingle (and you can even hang some string lights for evening play).
- Garden Oasis: This backyard putting green design is a free-form green nestled into a lush garden. Picture a kidney-shaped putting surface with stone stepping stones leading to it and blooms or shrubs around the edges with a garden centerpiece.
- Sleek Rooftop Green: If you have a sturdy flat roof or a large terrace, consider installing a putting green up there. It can be a modern, chic addition with great views. Imagine your own private golf retreat in the sky?!?
- Mini Golf Challenge: Design your green with a playful twist. For example, you could add a small windmill obstacle or use garden gnomes as “targets” to create a mini-golf course feel that kids (and adults) will adore.
- Indoor Putting Corner: If outdoor space is limited, convert part of a basement or rec room into an indoor putting area. A strip of artificial putting turf with one or two cups lets you practice year-round, all while staying dry.
These ideas can be mixed and matched. The point is to spark your imagination. Your perfect design might be a blend of a couple of these concepts. Think about it: maybe an entertainer’s green that also has a small bunker for challenge, or a garden with a whimsical mini-golf twist. Get creative and have fun with it!
The Best Putting Green Ideas for Your Backyard
Designing your custom backyard putting green is a process that starts with imagination and ends with a tangible, enjoyable space. As you plan, balance the aesthetics and functionality because, after all, you want it to look great and play great.
That means considering practical details too, like leaving enough room around it for safe play and ensuring water will drain properly off the turf. With the right location, size, shape, and quality materials like a high-quality artificial putting green turf, almost any idea is doable.
If you’re excited about the possibilities but unsure where to start, remember that AGL Grass’s backyard putting green design experts are here to help. We’ve installed all kinds of creative putting green layouts, and we offer free consultations to guide you through the options.Whether you go the DIY backyard putting green route or work with our team of professional installers, your project is doable with the right planning and quality materials. So sketch out your ideas, dream big, and get ready to tee up on your very own green!