


Installing a backyard putting green is an exciting DIY project, but it’s not as simple as rolling out turf and calling it a day. Careful planning and proper technique are crucial. Many do-it-yourselfers stumble by cutting corners or overlooking key details, leading to artificial putting green mistakes that result in greens that don’t perform or last as long as they should.
In this guide, we’ll highlight five common backyard putting green installation mistakes people make when building a home putting green.
More importantly, we’ll explain how to avoid them so you can have a smooth installation and a top-quality green at the end. By learning from these pitfalls, you can set yourself up for success and enjoy a putting surface that stands the test of time.
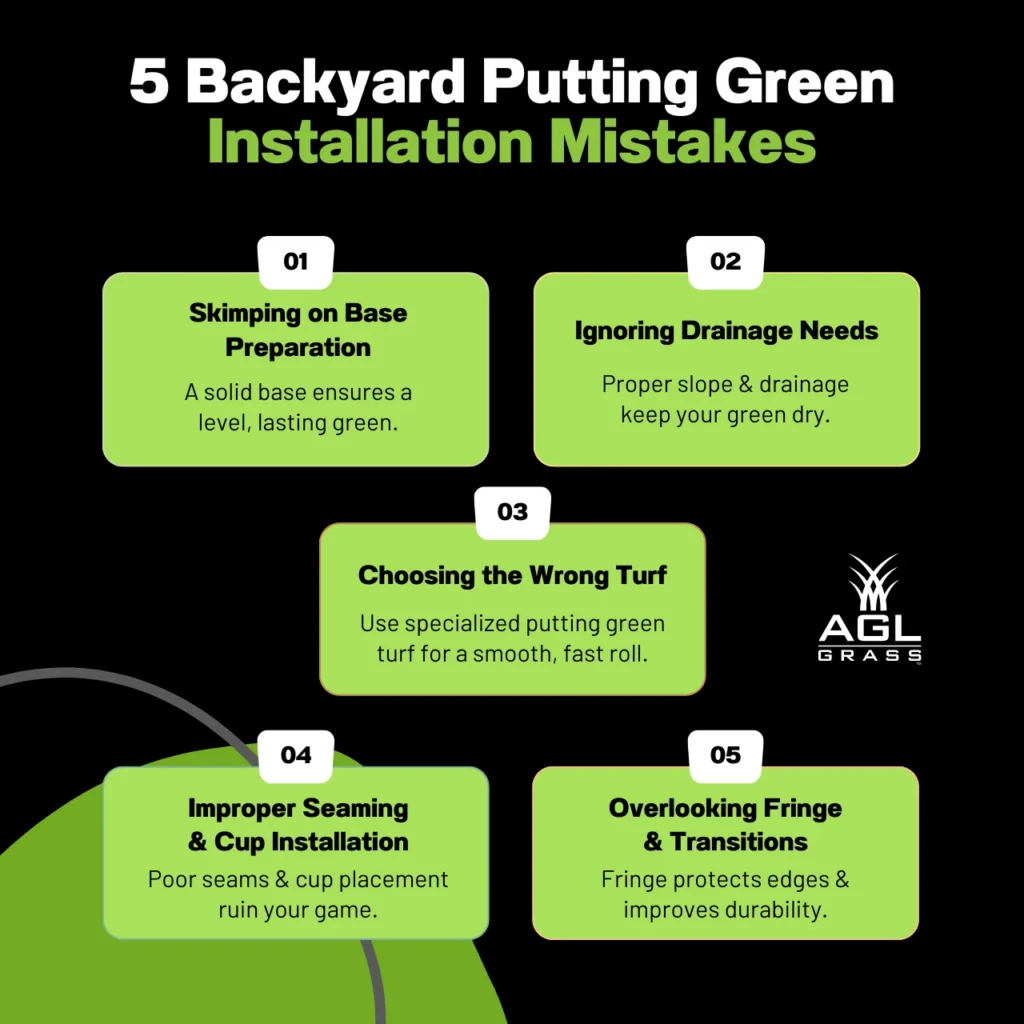
Mistake 1: Skimping on Base Preparation
Why It Matters
The base underneath your putting green is its foundation, and one of the biggest backyard putting green installation mistakes is skimping on this step. If you rush the base prep, you risk ending up with an uneven, unstable surface.

A poorly prepared ground can lead to bumps, depressions, or settling over time, which means your once-smooth green could develop unwanted contours. Inadequate base work also affects drainage and, without a solid, properly graded base, water can pool under the turf or cause sections to sink.
How to Do It Right
Invest time in creating a stable, level base before you even think about laying turf. One of the most common DIY putting green pitfalls is skipping this crucial step. This typically involves removing any grass or topsoil in the area and digging down a few inches. Then, add a compactable aggregate (like crushed stone or gravel) as your base material.
Spread it out to the desired shape of your green and compact it thoroughly with a tamper or plate compactor. Aim for a smooth, even surface that follows any gentle contour you want for your green (for example, you might grade it slightly for drainage).
It’s also smart to install a weed barrier fabric under the base to prevent weeds from sneaking up. Taking these steps will give your putting green a firm, even foundation that stays level over time. Remember, the more effort you put into the base now, the better (and longer) your green will perform later.
Mistake 2: Ignoring Drainage Needs
Why It’s a Problem
Sure, artificial putting greens don’t need a sip of water like real grass, but don’t let that fool you, water still needs an escape route. Skip drainage planning, and you might as well be installing a mini swamp instead of a smooth, pro-level green.

Poor drainage leads to water pooling on the surface or underneath the turf, especially after rain or sprinkler use. This can make your green squishy or soggy to walk on, and in worst cases, water buildup can destabilize the base or foster mold/mildew under the turf—issues that proper artificial turf drainage solutions can prevent.
Best Practices for Drainage
Plan for water flow before you install. First, ensure your compacted base has a slight slope (a subtle 1–2% slope) to channel water off the putting surface.
Next, use a crushed stone base that facilitates drainage–the gaps between aggregate pieces allow water to percolate through. Some installers also incorporate drainage pipe or channels under larger greens, but for most small backyard greens, a well-sloped crushed rock base does the trick.
Make sure the turf you use has perforations in its backing (most artificial turf does) so that rainwater can drain through into the base beneath.
Mistake 3: Choosing the Wrong Type of Turf
Ensuring the Right Selection
Not all artificial grass is created equal and using the wrong type of turf for your putting green is a recipe for disappointment.
One common backyard putting green installation mistake is picking a general landscape turf (meant to look like a lush lawn) instead of specialized putting green turf. Landscape turf usually has longer blades and is designed to be plush, which is great to look at but terrible for putting (the ball will wobble and slow down too much). By contrast, a proper putting green turf has a short pile height and very dense fibers to allow a golf ball to roll smoothly. When it comes to backyard putting green installation mistakes, using the wrong turf is a major one. Pick the wrong turf, and your putts will wobble like a bad shopping cart wheel. A smooth roll is everything. Get the right turf, or your green will play more like a backyard rug than a real green.
So how do you avoid this? Do your research and select a turf designed for putting greens. These products will often advertise a stimp rating or specifically state they are for golf use. They typically have pile heights around half an inch or less and a high stitch density.

It’s wise to buy from a reputable supplier and, most of the time, you can even ask for samples to feel the texture and see how a ball rolls on it. Make sure you’re getting turf that is UV-stable and durable as well, so it lasts outdoors. By choosing the right turf from the start, you’ll enjoy a realistic ball roll and a green that meets your expectations. For a deeper dive into turf selection, check out our best artificial putting green turf buyer’s guide.
Mistake 4: Improper Seaming and Cup Installation
How It Affects Play
If your putting green requires multiple pieces of turf seamed together or has cups (the holes) installed, precision is key. One big backyard putting green installation mistake is rushing the seaming process or cutting the cup holes carelessly. Improperly aligned seams can create inconsistent ball roll and an uneven surface. That means you might see or feel a slight ridge where turf pieces meet, which can nudge putts offline.
Similarly, poorly installed cups (for instance, not set level with the turf) can result in putts that mysteriously veer off or in holes that collect water. A cup that’s sticking up too high or sunk too low will spoil the realism of your green.

It’s obvious, but we’ll say it anyway: errors in seams or cup placement can ruin the smooth, professional look and feel of your green.
Best Practices
When joining two pieces of turf, take your time to line up the grain/direction of the fibers and make sure the edges are cut clean and straight. Use a strong seaming tape or adhesive made for artificial grass.
For cups, plan their locations in advance and cut the holes in the turf carefully using a sharp utility knife. The cup sleeves should be set in a stable base, either packed firmly with surrounding material or even secured with a bit of concrete, so they don’t move over time.
It’s important that the cup lip is flush with the turf surface (not sticking up or recessed below). Use a level during installation to get this right. If done properly, seams will be virtually invisible and cups will sit perfectly level, meaning all you’ll notice is how great your putts roll.
Mistake 5: Overlooking Fringe and Transitions
Why It Impacts Longevity and Looks
It’s easy to focus so much on the putting surface that you forget about what surrounds it. But ignoring the fringe (the collar of slightly longer turf around the green) or the transition between your green and the rest of the yard can be a mistake.

Fringe is needed around the green to make it more realistic and to provide a buffer between the putting surface and other landscaping. Without a proper fringe or transition, the edge of your green might fray, lift, or get stepped on constantly, which can reduce its lifespan. Additionally, a fringe area gives you somewhere to stand or a place to catch errant balls so you’re not always on the edge of the putting surface.
How to Get It Right
Plan to install a fringe turf around the putting surface. Ideally, use a different turf with slightly longer fibers (about an inch, like a golf course collar) to serve as the rough. Lay this fringe turf around the perimeter of the green, extending out about a foot or more.
The fringe will frame your green nicely and hide the cut edges of the putting surface. Make sure to secure the fringe turf edges well (with landscape nails or staples) so nothing lifts. And where the fringe meets other parts of the yard (flower beds, patio, lawn), create a clean border by neatly trimming the turf or using an edging material. By giving attention to the fringe and edges, you’ll protect your investment and your green will look more like a natural part of the landscape and it will hold up better to foot traffic and weather over time.
Set Yourself Up for Success
Ultimately, success comes down to attention to detail.
“Put in the work on the base, plan for drainage, choose the right materials, and don’t rush the finishing touches. Many installing putting green errors stem from overlooking these essential details. If some steps feel daunting, don’t hesitate to consult or consider a professional installation for help. The goal is a backyard putting green that rolls true and lasts for years, avoiding the pitfalls above will greatly increase your odds of getting that result.
Avoiding backyard putting green installation mistakes is all about careful planning and attention to detail. By taking the right steps and not cutting corners, you’ll soon be enjoying your own personal putting paradise. The first time you sink a putt on that well-built green, you’ll smile. The hundredth time? You’ll still be grinning because you took the time to do it right.