


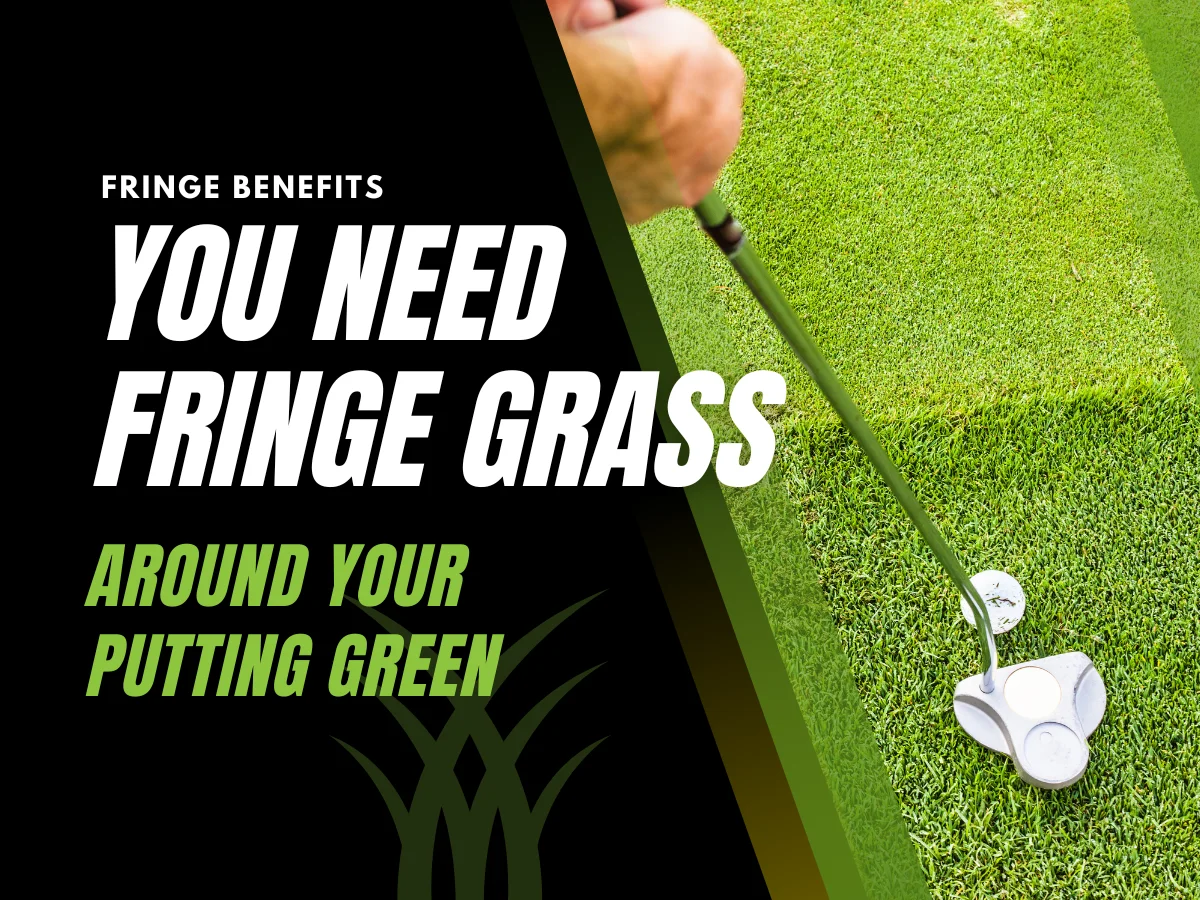
On a golf course, the fringe (or collar) is the band of slightly taller grass around the edge of the putting green. In your backyard putting green, adding an artificial fringe turf around the green serves the same purpose.
It’s a transition zone between the smooth putting surface and the rest of your yard. Putting green fringe grass doesn’t just make your home putting green look more professional, it also brings some seriously functional benefits.

Golf green fringe installation is key to backyard putting green design for a smooth transition around your personal green.
Benefit 1: Better Practice & Play
Fringe grass can really level up your practice sessions by simulating real golf conditions. On a real course, if you miss the green, your ball often lands on the fringe or in the first cut of the rough. By installing fringe turf, you can practice those exact scenarios at home.
You’ll be able to chip from just off the green and learn how the ball reacts when landing on the fringe. This adds realism to your short-game practice and helps improve your chipping touch. In fact, many professionally designed backyard greens include a fringe for exactly this reason–it lets golfers practice chip shots from the fringe just like on a real course.

Another practical perk is ball containment. The fringe acts like a safety buffer around your artificial putting green. If you hit a putt a bit too hard or misjudge a chip, the ball will slow down in the longer fringe grass instead of skidding way off into the rest of the yard or flowerbeds. That means less time chasing runaway balls and more time focusing on practice. The putting green fringe grass catches over-hit shots and keeps them nearby for easy retrieval. That’s so much less embarrassing.
Benefit 2: A Polished, Professional Look
Beyond the play benefits, fringe grass takes your backyard putting green from “just another DIY project” to a pro-level green. Imagine your friends or neighbors walking up, seeing that clean, well-framed green, and saying, “Wait… you installed this yourself?” That transition between the putting surface and your lawn is the signature of a true golf course design. The fringe blends everything together, giving it that polished, high-end finish instead of an abrupt, unfinished edge. No jagged turf lines, no awkward gaps.
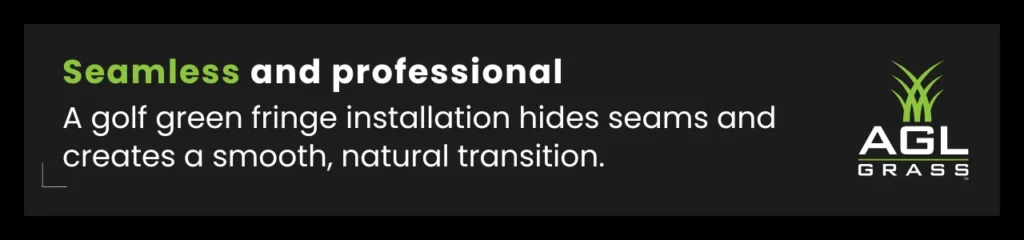
Fringe turf also hides the seams and edges of your putting green installation. When the green is cut to shape and secured, there will be edges or pins around the perimeter. A band of fringe covers those nicely. The fringe overlaps the border of the green, concealing any visible seams or spikes and preventing the edge of the putting turf from lifting. The result is a clean, seamless appearance where the green blends naturally into the fringe.
Benefit 3: Safety and Turf Longevity
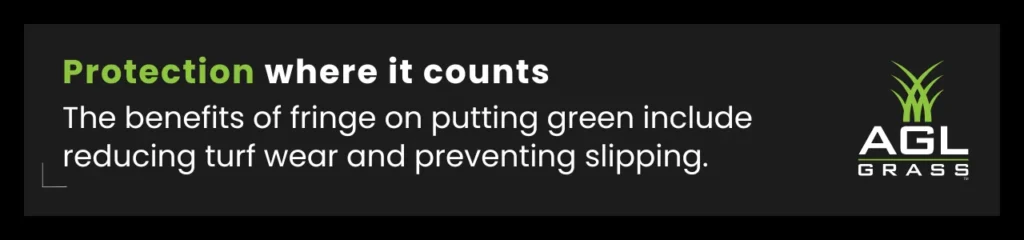
Adding artificial fringe turf isn’t only for better play. Think of it as an insurance policy for your turf. It cushions foot traffic, absorbs the brunt of chip shots, and keeps wear-and-tear off the delicate putting surface.
From a safety standpoint, the fringe provides a smooth transition underfoot all around the green. As you walk on or off the putting surface, you step onto the fringe, which is a bit softer and slightly higher than the putting turf. This cushioned buffer reduces the chance of slipping or tripping at the edge. It’s especially nice if kids are using the green or if you’re playing in morning dew–the fringe gives you a secure footing zone instead of a sharp drop-off.
Fringe grass also helps prolong the life of your putting green turf. How?
It takes on the traffic and wear that would otherwise hit the more delicate putting surface. When you practice, you’ll often stand on the fringe while chipping or when picking balls out of the cup. The fringe is designed to handle that foot traffic, protecting the more delicate putting surface from wear. Given that a high-quality synthetic putting green has an expected lifespan of around 10 years with minimal maintenance.
By contrast, the fringe (with its slightly longer, denser fibers) can absorb the impact of people walking or standing and of balls landing from chip shots. Essentially, the fringe acts as a buffer zone that spares your putting green from abuse. Over years of use, this means your green lasts longer, since most of the wear-and-tear happens on the surrounding fringe instead of on the green’s edge.
Choosing the Right Fringe Grass for your Putting Green
When selecting an artificial fringe turf for your putting green, you’ll want one that complements your putting surface both in looks and performance. Here are key qualities to consider:
- Proper Height: The fringe grass should be a bit taller than your putting green’s turf. Typically, fringe blades are around 1 to 1.5 inches tall, whereas the putting surface blades are about 0.5 inch. This mimics the first cut of rough on a real green. It’s tall enough to slow down a rolling ball and provide contrast, but not so tall that you can’t putt through it if you wanted to.
- Density and Firmness: Fringe turf should be dense and fairly firm. You don’t want the fringe to be too shaggy or deep; it should be firm enough that a golf ball can roll on it (albeit slower than on the green). A dense fringe also holds up better under foot traffic. Look for a turf marketed as fringe or collar turf, as these products are designed with the right balance. They’re a bit softer than putting turf, but still tight enough for play.
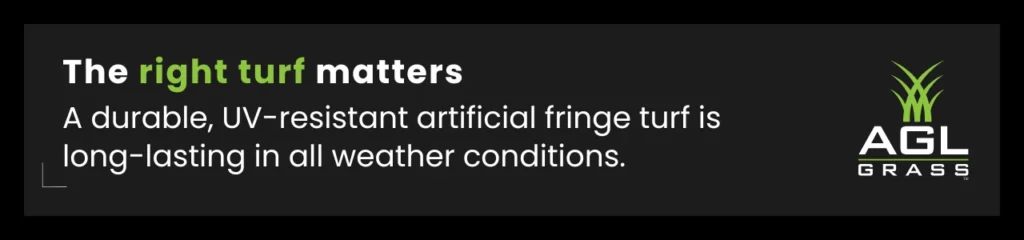
- Durability (UV and Wear): Just like your green’s turf, the fringe will be exposed to the elements. Choose a putting green fringe grass with UV-resistant fibers so it won’t fade much under sun exposure. It should also have a strong backing and good tuft bind (so fibers won’t pull out easily) to withstand people walking and occasional chip shots landing on it. Most quality fringe turfs are built with durability in mind, but it’s worth confirming UV warranty and material quality since the fringe will see a lot of action.
- Color Coordination Matters: Because the last thing you want is a putting green that looks like a patchwork quilt. A well-chosen fringe should complement your putting turf, just like a golf course where the green is a lighter shade and the fringe is slightly darker. Many turf manufacturers (like AGL Grass) offer perfectly matched fringe options so you don’t have to gamble on mismatched shades. If you’re mixing brands, grab samples first, so you’re not pairing a neon green fringe with a deep pine-green putting surface is like wearing mismatched socks… it just doesn’t look right.
Installation Tips for Fringe Grass
Installing the fringe is somewhat of an art, but here are a few key tips:
- Plan Sufficient Fringe Width: Decide how wide the fringe band should be around your green. Commonly, 1 to 2 feet of fringe is used. You want enough width to stand on and to catch wayward balls (around 18 inches is a good target if space allows). Mark out the intended fringe area with spray paint or rope before installation so you can visualize it and adjust if needed.
- Seam It Cleanly: The fringe turf will need to be cut into strips or arcs to wrap around the green’s shape. When seaming the fringe to the putting green edge, make sure the grain of the fringe (the direction the fibers lean) is oriented away from the green. That way, the fringe blades aren’t leaning into the putting surface, which could slow down balls that roll off. Use quality seam tape and adhesive to join the fringe to the green’s edge so the transition is smooth and virtually invisible. Take your time with this step because a well-done seam will make the fringe and green look like one continuous piece of turf.
- Secure the Outer Edge: After attaching the fringe, secure its outer perimeter to the ground with landscape stakes. Make sure that the fringe’s outer edge is pulled tight and flush with the ground so there are no loose spots that could trip someone or allow the turf to lift. If your fringe meets natural grass or soil, you can tuck the edge of the turf slightly into the earth for a seamless transition. Once secured, brush the fringe fibers upward to hide the fasteners. A firmly anchored fringe will stay put and keep your green in top shape.
Complete Your Backyard Green With Fringe
If your green is the main event, the putting green fringe grass is the VIP section. When you’re planning your setup, don’t skimp on the fringe, it’s a small investment that delivers major returns, both in playability and looks.
With the right fringe installed, your backyard green will look and play like a mini hole from a country club course. Happy golfing at home, and enjoy your picture-perfect putting green with its new fringe!